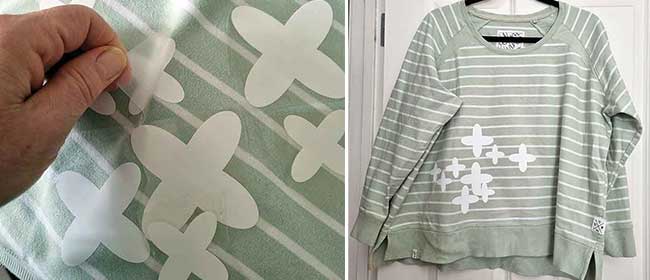
Thank goodness for my Cricut machines. I recently bought a sweatshirt and wore it only twice before I stained it with (I think) rust that wouldn’t budge.
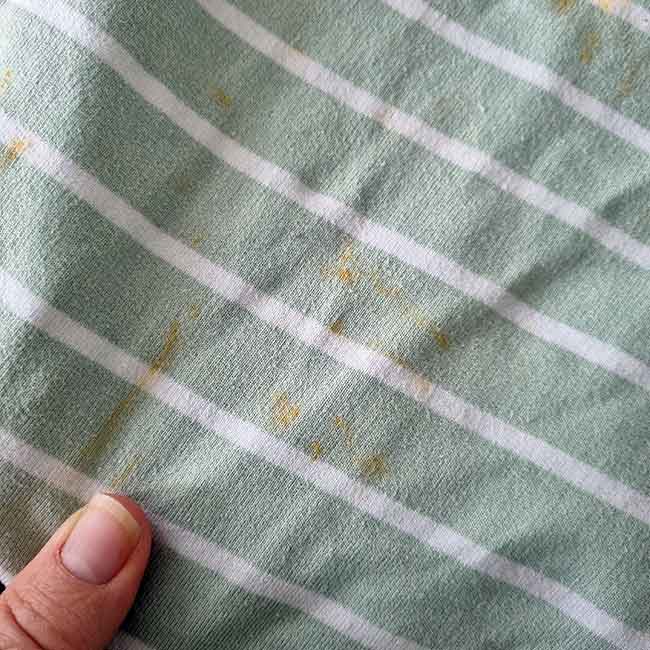
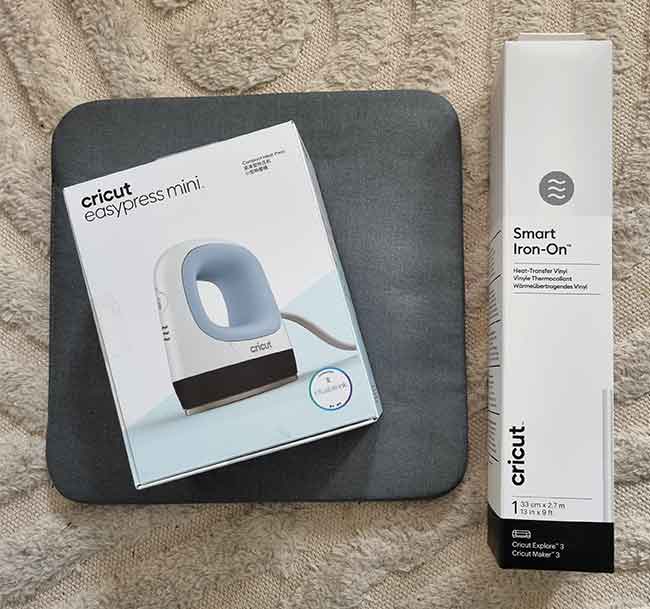
No problem, I thought. I’ll use my brand spanking new Cricut EasyPress Mini alongside my Cricut Maker 3 cutting machine to make stickers to cover the whole mess.
Design your stickers
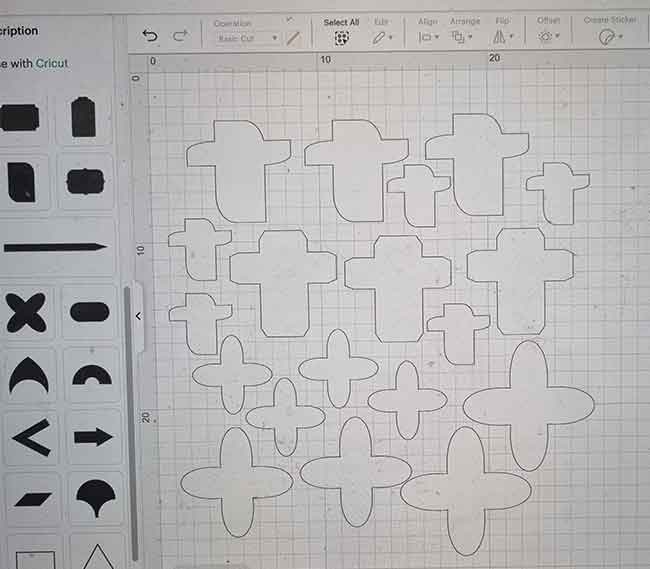
I designed some basic crosses (my sticker of choice) in Cricut Design Space using the ‘Shapes’ tab. This is super easy to do – just click on the shape you want, and voila! I chose three different styles to try out because I couldn’t decide which I liked best.
With two of the styles, I ‘made’ them myself. That is, I chose a shape, then put the same shape on top and rotated it to form a cross.
Next, I selected ‘all’ and changed the colour to white (this is optional) to make it easier to see what I was working with (ignore the horrendously dirty screen on my laptop, below!).
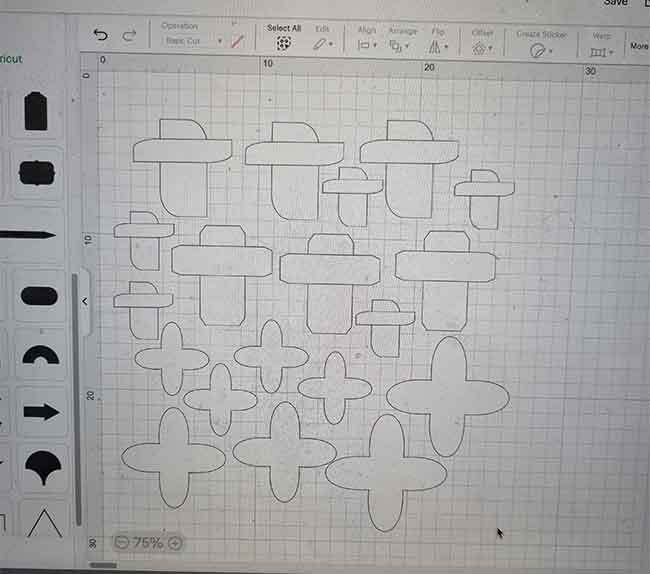
The next step was to merge the shapes together (for the crosses that had two parts to them) so the cutting machine wouldn’t cut out two different sections. I literally just hit the ‘select all’ button, then the ‘combine’ button, then ‘unite’. So easy.
Cutting out the stickers
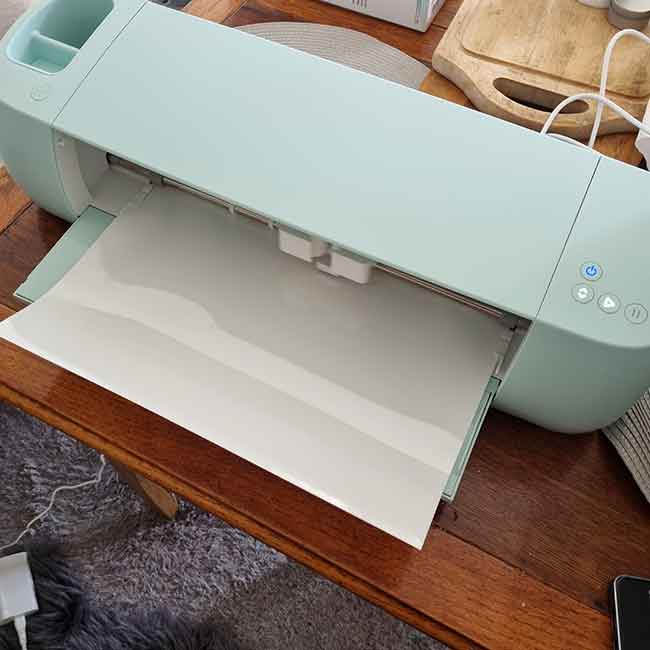
Once I finished my design, I selected ‘make it’. You need to make sure to select the ‘mirror’ option before cutting so that your image is the correct way round after cutting. Hit ‘continue’, then select the medium you want to use. For this project I used Cricut’s heat-transfer vinyl in white. You will see one side is shiny and the other side is matte on your iron-on material. The shiny side is the liner backing. This needs to be facing downwards so that the matte side is being cut by your machine.
The app will tell you to load your material, and which buttons to press to get it started. And that’s it. So very easy.
Ironing on the stickers with the Cricut EasyPress Mini
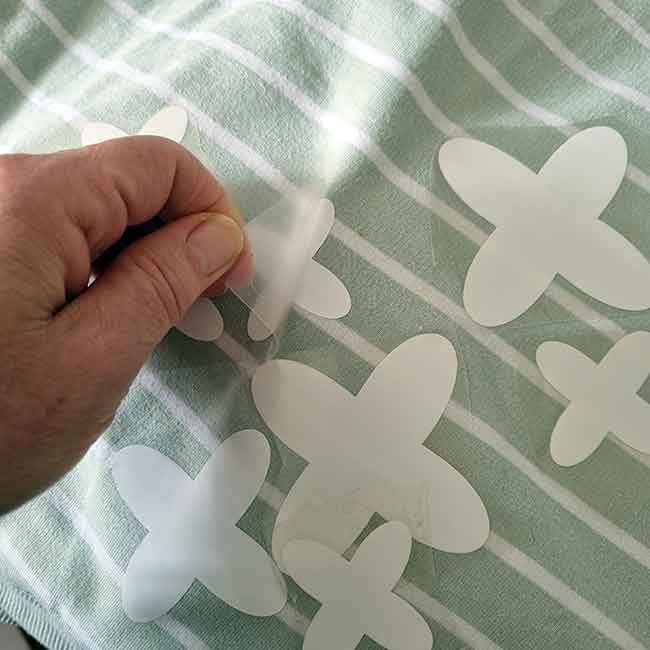
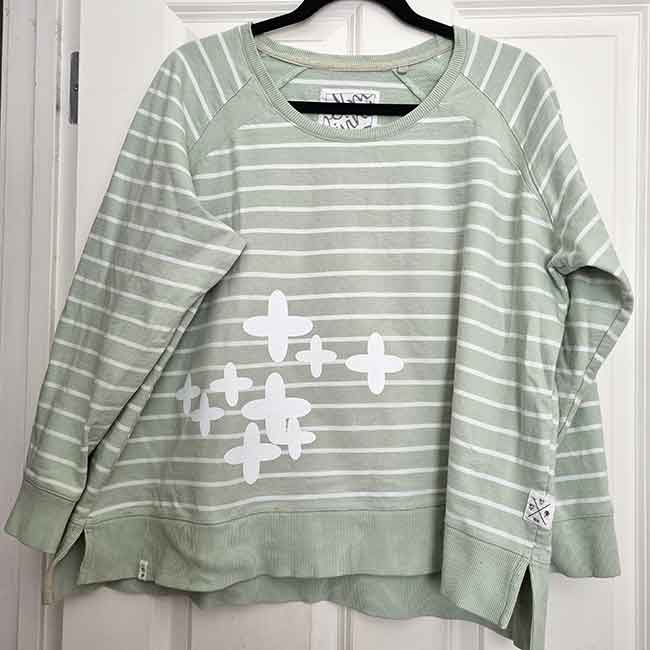
Next, I cut out the stickers individually to decide which ones I liked best. Turned out I preferred the rounded cross. So I cut the remainder of these out and used the ‘weeder’ to remove the negative parts of the vinyl. Then I arranged them on my sweatshirt (with their backing still intact and on top) to cover the stains. After that I used the EasyPress Mini to iron them on. This takes all of 20 seconds! Plus another 10 seconds on the back. Definitely easy.
Once ironed in place, I simply peeled off the backing, and it was done!
I am totally impressed with the ease at which the Cricket EasyPress Mini is to use.
 My Favourites





Speak Your Mind