Yolanda Bonfrer grows an abundance of strawberries and devises a cunning plan to keep the birds at bay.
Last year we had a bumper crop of strawberries, largely due to the fact that the weather conditions were perfect. However, the birds feasted on them more often than we did. So this year we decided to create a dedicated spot for them and cover the entire area with bird netting. We did leave some plants in the remainder of the garden, which should keep the birds happy. They do, after all, keep the bugs under control, so we don’t mind rewarding them with a couple of berries.
We used an existing raised garden bed. It is necessary to have some type of boxing around the area so that you can attach the bird netting to it. However, a single level is more than sufficient for this.
Items you need:
Topsoil
6-8 long posts to go into the ground
Galvanised wire
PVC pipe or old hose
Nails
Hammer
Galvanised U nails
Compost
Mulch
Strawberry plants
Straw
Before photo
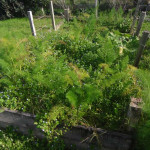
Here’s a photo of the original garden – rather an overgrown patch with fennel growing like weeds.
We managed to transplant most of the fennel plants as well as and a few lettuces that had also self-seeded.
Time to get out the hoe and other weeding tools.
That’s much better.
Nice and weed-free.
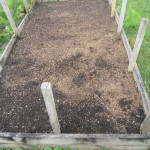
It took a bit of time and a lot of elbow grease, but wow, doesn’t it look great! All weed (and fennel) free.
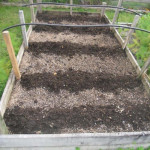
Adding rows of lovely homemade compost. If you haven’t got your own supply of compost, you can buy bags at most garden centres and hardware stores.
Strawberries love compost, so dig in plenty of it.
Place wooden posts along the sides of your plot. We have used the existing wooden posts from the original garden bed.
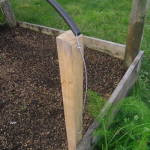
Measure out lengths of galvanised wire to easily cover the width of your area. Secure at one end with a galvanised U-nail and then slide it through a PVC pipe or old hose and attach to a post on the opposite side. This will stop the netting snagging on the wire.
Here we have covered the entire area with a layer of mulch that contains additional slow-release fertiliser. Mulch is great for locking in moisture during the drier months.
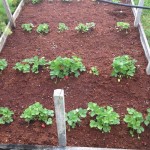
Time to plant the strawberries. We have given them plenty of room to get nice and big.
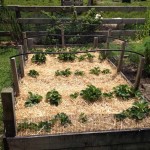
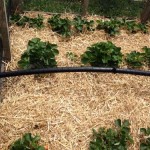
Time to cover the area with straw. Well, they aren’t called ‘straw’berry plants for nothing, right? The straw will help to suppress weeds and keep the soil temperature nice and cool. It also keeps the fruit off the ground, making them less prone to insect damage or rot.
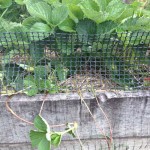
Lastly, we cover the entire area with bird netting. Hammer in nails around the outside of your boxed area, leaving enough nail exposed so that you can snag the netting onto it. When it comes time to gather your harvest, simply lift up the netting.
Strawberry plants send out ‘runners’ which in effect create a new plant. In the initial stages you want to deter this by removing the runners. This way the plant will concentrate on creating more fruit. Later in the season you may wish to let some of the runners take root so you get more plants. Once they have taken root, cut them from the main plant and transplant them to a new patch. New plant, more strawberries – sounds great, right?
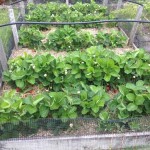
A very healthy strawberry patch!
Next on the agenda – a large batch of strawberry jam, strawberry ice cream or strawberry tarts ….
Delicious!
 My Favourites




Speak Your Mind