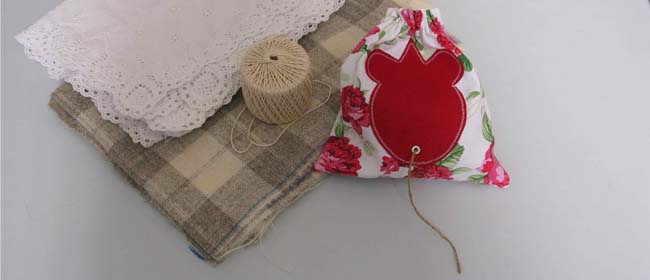
 See the little mouse’s tail tumbling from the drawstring bag? This crafty DIY is not only cute, it’s functional. Make this simple pouch and store your string in style. We featured this adorable DIY in the latest issue of Sweet Living (issue 3) – click through there to get the step-by-step instructions, or print them out below.
MATERIALS
• fabric for bag (cut 2 pieces 220mm x 250mm)
• fabric for mouse appliqué (150mm x 150mm)
• lightweight fusible web
• eyelet
• eyelet tool
• cotton
• string for top of bag
STEP 1
Download your free template here and cut out the mouse shape.
Cut a square from your mouse appliqué fabric, big enough to fit the mouse pattern, and a square of fusible web, the same size.
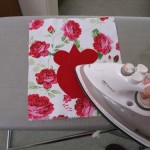
Iron the fusible web onto the fabric, as per manufacturer’s instructions.
Place mouse pattern on top and cut out.
Peel paper off the back of the fusible web, place the appliqué piece onto one of fabric pieces for your bag, and iron in place.
STEP 2
Stitch around the mouse shape, using a zigzag stitch.
Insert an eyelet near the bottom of the mouse.
STEP 3
Place bag pieces wrong side together and sew sides and bottom together.
Finish edges by zigzagging, and trim.
Fold top edge down 250mm. Iron.
STEP 4
Unfold the edge again.
Insert two more eyelets at the top of the bag on each side, with the centre of the eyelet 16mm down from the fold.
STEP 5
Fold down the top again and sew around top of bag, 10mm from the top edge.
Sew another line 10mm down from first line.
Using a large-eyed needle, thread string through one eyelet, drawing it right around the bag and out through the other eyelet.
Tie knots at ends of string.
Place a ball of string inside the bag and pull the end through the eyelet.
This is a great gift for Mum! Or simply use it to store your own balls of string.
 My Favourites









Speak Your Mind