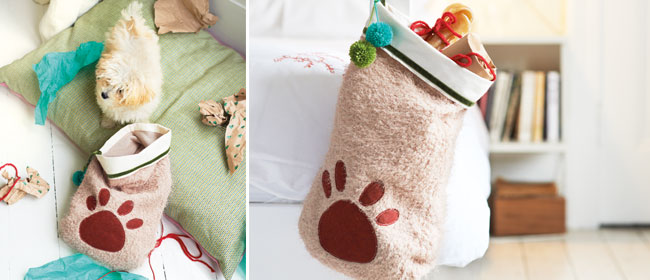
 Everyone deserves a treat at Christmas, including the critters in your home. Make this paw-shaped Christmas stocking, which features in Rachelle Blondel’s new book Pamper Your Pooch, and fill it with all kinds of handmade goodness. See DIY instructions below.
 Show your pooch how much you care about them by making any one of the 30 handcrafted projects in this gorgeous book, Pamper Your Pooch, by Rachelle Blondel.
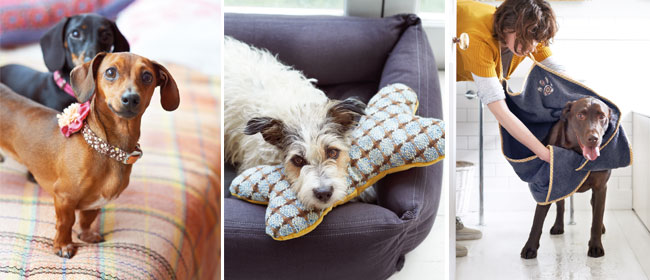
Divided into four chapters – Nest, Play, Wear, Eat – the ideas are practical as well as cute and include everything from a travelling mat, a muddy paw towel, a doggie pillow and a jaunty neckerchief and bow tie, to a doggie birthday cake and biscuits, sweet potato chew strips and the cutest bed to sleep in. There is even a fancy jacket for the fashionable four legged friend.
This is a lovely book for any dog owner – for yourself or as a gift for a friend.
Pamper Your Pooch: 30 practical presents for dogs, by Rachelle Blondel with photography by Kate Whitaker. Published by Kyle Books and distributed in New Zealand by New Holland, $24.99.
Images below by Kate Whitaker, taken from Pamper Your Pooch, with permission.
Christmas stocking
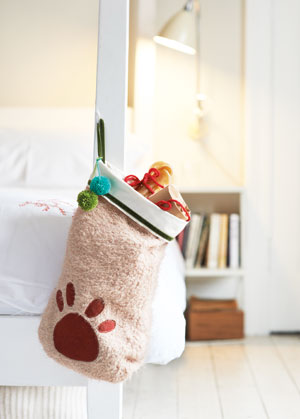 Everyone deserves a treat at Christmas, including the critters in your home. Make this paw-shaped Christmas stocking and fill it with all kinds of handmade goodness including toys, a fancy new collar and delicious things to munch and chew. Your dog will enjoy these treats much more than a bowl of turkey scraps. They’ll charge through the pile of wrapping paper looking for general mischief, then snore their head off on the sofa… well, I hope they do.
You will need:
- 50cm piece fake furry fabric
- 40 x 40cm felt or wool
- 40 x 40cm bondaweb
- A strip of contrast fabric – twice the width of the top of the stocking + 2cm, x 14cm
- A small piece of ribbon or tape to use as a hanger
1. Enlarge the stocking and paw templates (click here to download template) and use as a pattern to cut out the fabric. Pin the stocking template on the wrong side of the fur fabric and cut out the shape. Repeat for the other side.
2. Trace your paw shape onto the paper side of the bondaweb, then iron onto the wrong side of your felt or wool square. Cut out the paw shape and remove the backing paper. Using a warm iron and a cloth, press them to the right side of one of the stocking pieces.
3. Stitch around the edge of the paw shapes. You can use either a narrow zigzag stitch or a bit of free hand embroidery, depending on what you fancy.
4. Lay the two stocking pieces down, right sides facing, and pin around the edge. You may wish to tack the edge before you stitch to keep both pieces perfectly aligned. Stitch around the edge, then zigzag or overlock the seam to prevent it from fraying. Turn out to the right side.
5. Pin the hanging tape to the top edge of the stocking on the wrong side, near the side seam with the loop side facing downward.
6. Fold the strip of fabric in half and stitch the short side with a 1cm seam to create a band of fabric. Fold it in half lengthways with the wrong sides facing and press along the entire length to create a sharp fold.
7. Pin the band around the top of the stocking, with the right side of the band facing the wrong side of the stocking. Stitch together using a 1cm seam, ensuring you stitch the hanging loop between the band and stocking. Fold the band to the right side of the stocking and press.
 My Favourites






Speak Your Mind