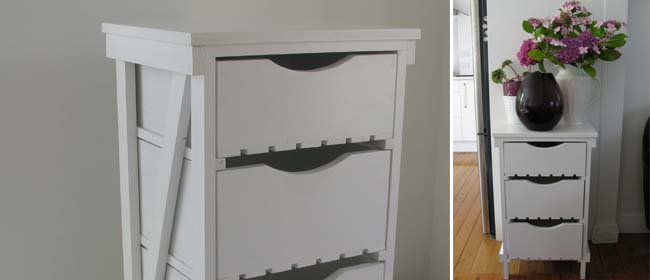
 Follow our step-by-step instructions and make yourself a country chic cabinet. It’s great for the kitchen or bathroom – or even a sheltered verandah.
You need:
Wood
5 pieces of 45mm x 19mm x 1.8m pine (for frame)
2 pieces of 18mm x 18mm x 1.2m pine (for drawer runners)
1 piece of 140mm x 19mm x 1.8m pine (for top drawer)
2 pieces of 180mm x 19mm x 1.8m pine (for bottom drawers)
11 pieces of 40mm x 10mm x 900mm pine (for slats)
1 piece of 1200mm x 600mm x 19mm MDF (for top)
1 piece of 1200 x 600mm x 4.75mm MDF (for back)
Tools
saw
jigsaw
30mm galvanised flathead nails
wood glue
pencil
plastic lid (to use as drawing guide)
sandpaper
Cutting measurements:
Frame
- For side frames, cut 4 lengths of 45mm pine at 700mm
- For top frames, cut 2 lengths of 45mm at 398mm
- For bottom frames, cut 2 lengths of 45m at 436mm
Braces
- For braces, cut 4 lengths of 45mm pine at 360mm
- For diagonal braces, cut 2 lengths of 45mm pine at 680mm
Drawers
- For the top drawer, cut 1 length of 140mm at 350mm (front), cut 2 lengths at 331mm (sides) and cut 1 length at 312mm (back)
- For two bottom drawers, cut 2 lengths of 180mm at 350mm (front), cut 4 lengths at 331mm (sides) and cut 2 length at 312mm (back)
- For drawer runners, cut 6 lengths of 18mm x 18mm pine at 360mm
- For slats, cut 21 lengths of 40mm x 10mm at 350mm
Top & Back
- For the top, cut a piece of 19mm MDF at 450mm x 370mm
- For the back, cut a piece of 4.75mm MDF at 385mm x 600mm
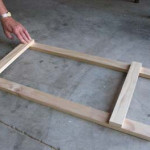
Step 1 (see photo)
Make the side frames as pictured, spacing 700mm lengths so outsides are 360mm apart.
Place the bottom brace 100mm up from the bottom edge and the top brace so it overhangs by 19mm. Nail and glue in place, drilling pilot holes before nailing.
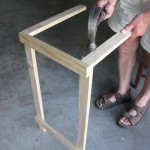
Step 2 (see photo)
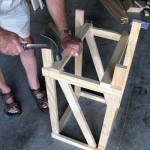
Stand upright and nail the two 398mm side frames to the top, as shown.
It’s important to drill pilot holes before nailing, otherwise the wood may split.
Glue as well for extra strength.
Step 3 (see photo)
Place the diagonal brace on the frame so that both ends overlap the edges, as shown.
With a pencil, mark the underside flush against the top and bottom frames.
Cut with saw.
Use the first brace as a template to cut a second diagonal brace.
Nail the first diagonal brace in place.
Step 4
Nail the second side frame in place.
Nail the second diagonal brace in place, making sure the diagonals go the same way.
Step 5 (see photo)
Turn the frame upside down and nail the two bottom frame pieces in place.
Step 6
Nail the drawer pieces together so that the back piece comes on the inside of the side pieces.
Step 7 (see photo)
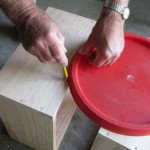
Using the plastic lid as a guide, mark a small semi-circle at the top of each drawer front for the hand pull.
Cut out with jigsaw and use sandpaper to smooth the edges.
Step 8 (see photo)
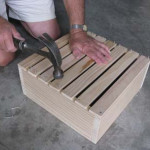
Nail 7 slats to the bottom of each drawer, spaced evenly apart.
Remember to drill pilot holes before nailing.
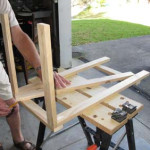
Step 9 (see photo)
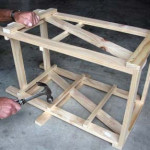
Lay the rack on its side and nail the bottom drawer runner to the inside frame.
Nail the middle runner so there is a space of 195mm between runners.
Nail the top runner so there is a 190mm space between the middle and top runners. (Note, in the photo, the extra piece of wood seen sticking out in the middle is there only to hold the cabinet up off the ground when nailing in the runners.)
Step 10
Nail the top piece to the frame so there is a slight overhang on all sides.
Nail the back in place.
In all cases, remember to drill pilot holes first to prevent the wood splitting.
Use glue for extra strength.
Step 11
Stain or paint your cabinet.
 My Favourites




Speak Your Mind