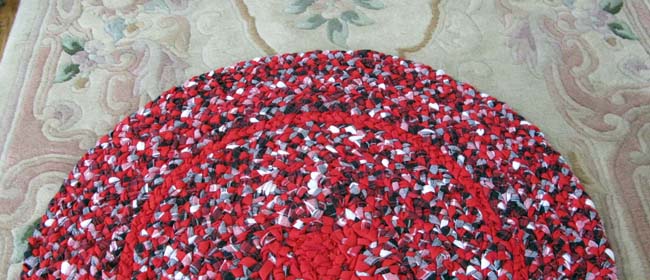
Shabby chic is in – and so too are braided rugs. Upcycle your fabrics to make this stylish rug. There’s nothing hard about this project – it’s more a labour of love. But it’s one that’s very relaxing – and at the end of it, very satisfying.
You need:
Medium weight non-stretch fabric
Cotton t-shirt/s in complementary colour (for sewing up rug)
Safety pin
Clothes peg
Large-eye blunt needle
1. Cut strips from medium weight fabric 4cm (1.5 inches) wide x 1m (39 inches) long. Any longer than this and the fabric starts to get tangled as you braid. If you want to use a thick fabric, cut narrower strips. Cut t-shirt into 1.5-2cm (3/4 inch) strips.
2. Take three strips of your medium weight fabric (think about what colours you want in the centre of your rug), place them on top of one another and sew the top edges together.
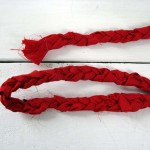
3. Attach the safety pin at the top and pin to an old tablecloth or the like to anchor the braid as you work. Begin to braid the three strips. The braid needs to be firm but not too tight, otherwise your rug will curl up.
4. Stop braiding when you get to the last 10-15cm (4-6 inches) of the three strips. Place your peg just above the end of the braided part to keep it together. Fold the bottom ends of the strips over about 3.5cm (just over an inch) and cut a 1.2cm (1/2 inch) slit on the fold in the centre of each strip. Do the same for all your standby strips, cutting slits at both ends.
5. To join strips together, take a new strip and push one end through the slit of one of your finished braided ends (as shown on the right of the photo here). Pick up the other end of that same new strip and push it through the slit at the top end of the new strip. Pull the bottom end right through so that you end if with a neat knot (as shown in the middle of the photo here).
Don’t worry about any irregularities here. You will not see them once you coil up your rug.
If using a fairly thick fabric you might want to have your first three strips finishing at different lengths so that the knots don’t bulk out in the same spot.
Repeat for the other two strips, then continue to braid.
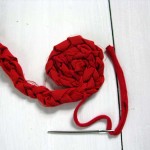
6. Once you have a reasonable length of braid you can begin to coil up your rug. To make a circle, simply roll the braids into a spiral. Thread one of your t-shirt strips through your needle and weave it through the braids to join together. You are not actually piercing the fabric – just thread it through the centre gaps of the braids. When you come to the end of one t-shirt strip, just knot and join another strip to the end of it, and carry on.
7. Continue coiling and sewing together. When you come to the end of your braids, make up more braids and join these to your growing rug. The rug can be made as large or small as you like.
8. To make an oval rug, start your braids off at a length that is the difference between the width and length of the finished rug. For example, if you wanted a 270cm x 180cm (9 foot x 6 foot) rug, you would start with a length of 90cm (3 foot). If you want your rug to be 180cm x 120cm (6 foot x 4 foot) you would make the initial length 60cm (2 foot). At the end of that length, fold the braid back and continue to build an oval, just like you would for a circle.
9. To make a square or rectangle you simply make the centre braids into a square or rectangle shape. A heart shape is made by creating a small V shape in the centre, and wrapping your braids around this.
10. To finish your rug, sew the ends of the last braided strips together, then just taper off the ends. That is, push the ends at a gradual curve under the rug, so that the ends don’t stop abruptly, and sew in place. Snip off cotton threads from frayed edges to neaten up your rug, and you’re done!
 My Favourites


Speak Your Mind