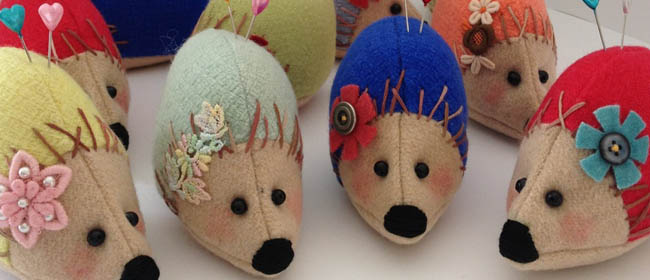
 We’re lucky to have the lovely Fiona Marie Clark from Piece guest posting this week. Fiona Marie is a craft whizz and regularly holds craft workshops for adults and children. Today, she’s sharing her tutorial for these nifty hedgehog pincushions. Aren’t they cute?
Happy Hedgehog Pincushion
Pattern Notes:
¼” seam allowance has been allowed for on pattern pieces
Finished size: 4 ½” x 3” (11.5cm x 8cm)
Requirements:
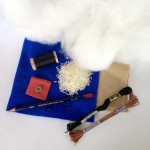
Coloured wool fabric – 25cm x 10cm
Beige wool fabric – 20cm x 10cm
Square of coloured felt for flower – 3cm x 3cm, or lace motif
Embroidery cotton – black and variegated brown
2 x 6mm black beads for eyes
Strong black thread for attaching eyes
Rice and stuffing
Sewing machine and other basic sewing supplies
DOWNLOAD THE PDF PATTERN FOR YOUR HEDGEHOG HERE
Instructions:
1. Cut out:
2 x body pieces from coloured wool fabric
2 x face pieces from beige wool fabric
1 x base piece from beige wool fabric
1 x flower from contrasting coloured felt. Cut out a circle and then snip little triangles around the edge to form a flower.
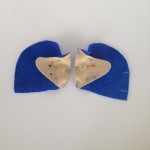
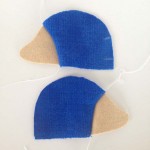
2. Sew 1 face piece to a body piece. Repeat with other two pattern pieces. (See photos 2a and 2b.)
3. Sew these two pieces together from back to nose (A to B) matching the face seams. Leave a small gap for turning through and stuffing along the lower back as indicated.
4. Sew on the base. I find it easiest to pin one side at a time. Trim to fit if necessary.
5. Stuff one third with rice or plastic pellets in the base and finish with stuffing. Check to make sure your hedgehog sits nicely. Slip stitch close the opening. (See photo 5.)
6. Mark nose and eyes on face.
7. Use 6 strands of brown/gold embroidery cotton for prickle detail around the face. Be creative!
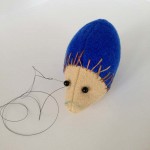
8. Sew on two 6mm (¼”) black beads for eyes pulling the thread to pinch the fabric together creating eye sockets. (See photo 8.)
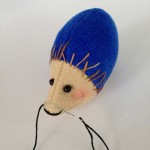
9. Use 6 strands of black embroidery cotton and stitch nose in satin stitch working across the seam line. (See photo 9.)
10. Sew the button onto the wool felt flower and then stitch onto your hedgehog’s prickles at a jaunty angle.
11. Use a red coloured pencil to create a healthy flush around the cheeks. I used a Derwent Inktense water colour pencil to create the healthy blush.
 My Favourites




Love your hedgehog!
I have included your tutorial in a list of links for felt pincushion tutorials on my blog.
https://blueraindrops.com/10-diy-felt-pincushions/
Thank you
Thanks Elsa. What a cute blog post. 🙂