 My Favourites


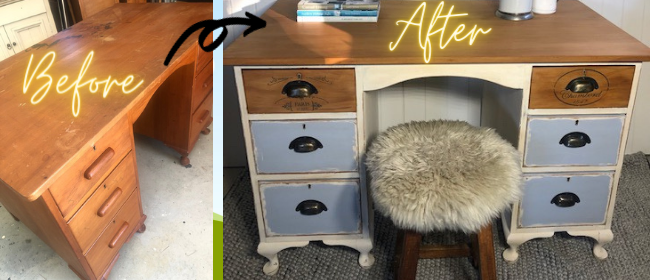
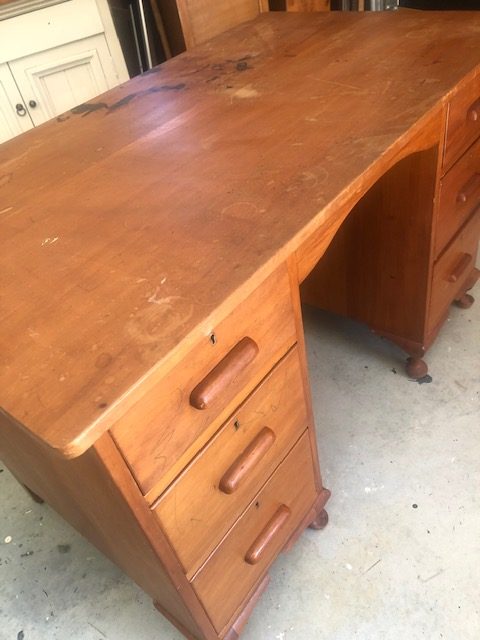
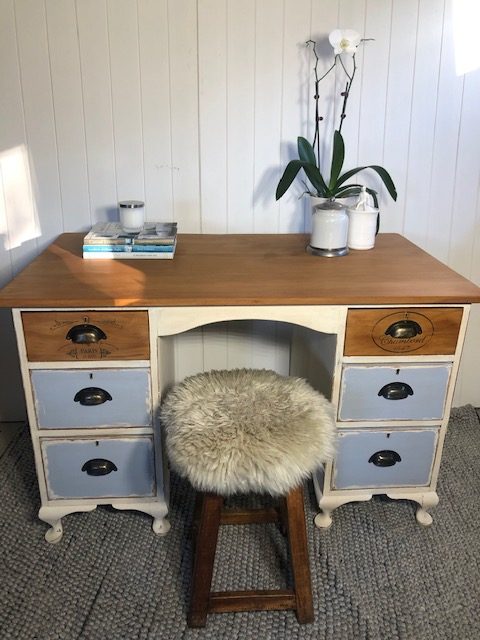
Paula de Moor from Relove Revamp Recycle gives an old, pockmarked rimu desk a facelift.
This desk was quite stained and in need of a refresh.
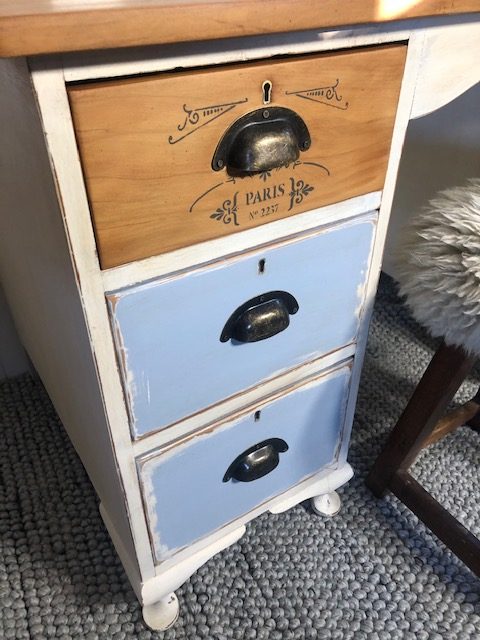
I chose to paint in two different colours, plus retain some of the beautiful wood. I also chose a smooth-painted finish rather than a textured finish.
If you prefer the textured finish, you can sweep and swirl the paint as you paint the piece, which leaves brush marks. Once you apply a dark wax to finish, the brush strokes will be highlighted by the dark wax and sanding is not required (apart from any distressing on the edges if you choose).
You Need:
- Sandpaper – medium grit (120)
- Sandpaper – fine grit (240)
- Sandpaper – rough grit (80)
- Sandpaper – extra fine grit (300)
- Wood filler
- Masking tape
- Primer (optional – see step 5 below)
- Annie Sloan ‘Original’ (vintage white) Chalk Paint
- Annie Sloan’s ‘Louis Blue’ Chalk Paint
- Stencil
- Stencil dry brush
- Damp cloth
- Annie Sloan Clear Chalk Paint Wax
- Annie Sloan Dark Chalk Paint Wax
- Wax brush
- Rags for buffing
- Beeswax
- New handles
- Remove old hardware.
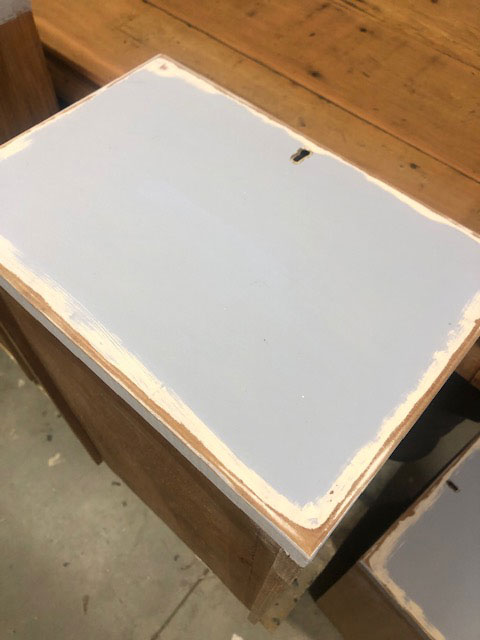
- Sand the top with a medium grit (120) sandpaper until all marks (ink) are removed and any scratches are sanded smooth.
- Follow with a fine grit sandpaper (240) until silky smooth.
- Remove hardware on drawers, fill the holes with filler and tape the brass locks.
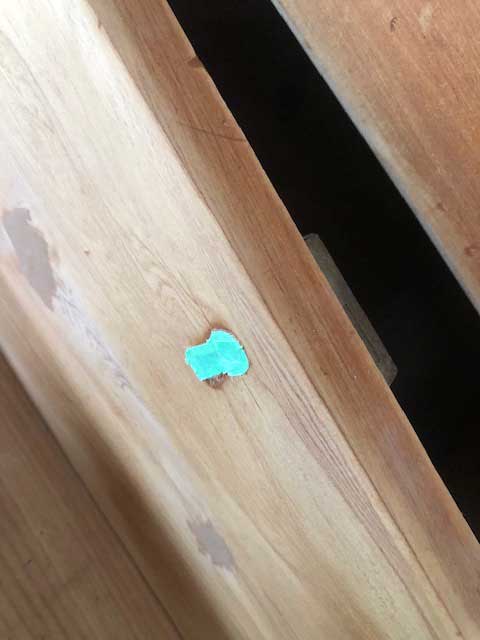
Sand and fill holes
5. Lightly sand the drawers and body of the desk with a rough 80 grit sandpaper. This step is not always necessary unless a surface is really smooth – however, on very smooth surfaces I would recommend roughing up the surface first.
Note: If you have heavily sanded a wood surface you may need to apply a primer as some wood will bleed through the paint. Generally, Annie Sloan paint does not require priming unless a wood bleeds (teak is notorious for this problem – perhaps try a test spot first so you don’t waste your paint).
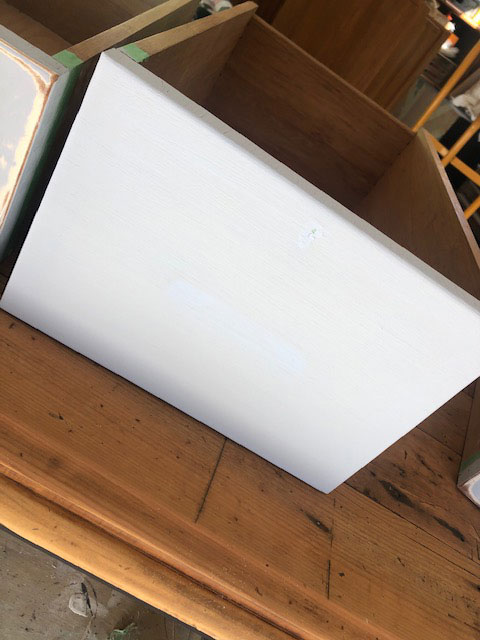
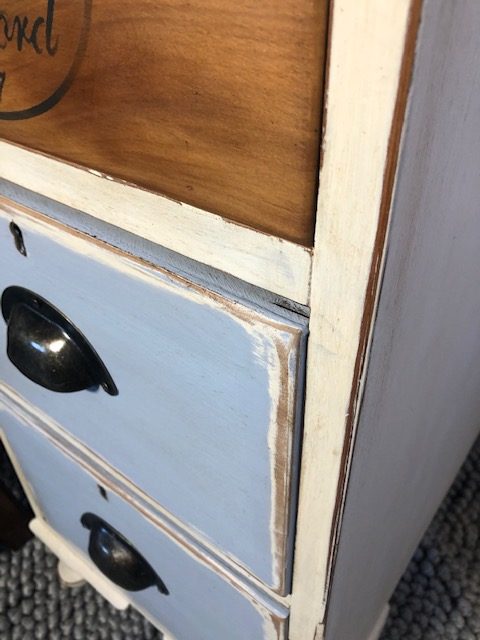
6. Paint the edges of four of the six drawers in Annie Sloan ‘Original’ (vintage white) as we want to show two colours on the sides of the drawers once distressed. Paint two coats and very light sand. By lightly sanding, the underneath coat it is smoother and won’t stick to the top coat as much, which means it’s easier to sand back just parts of the top without going straight through to the wood.
Paint the drawer edges and lightly sand
7. Sand the top two drawers until silky smooth and then apply stencils. Tape your stencil in place (hint – place your handles so your stencil is in the best place). Use a stencil dry brush and go over a few times using a stippling technique to prevent bleeding of paint. Remove stencil and lightly sand until paint is smooth on the drawer (and lightly distressed, if you wish).
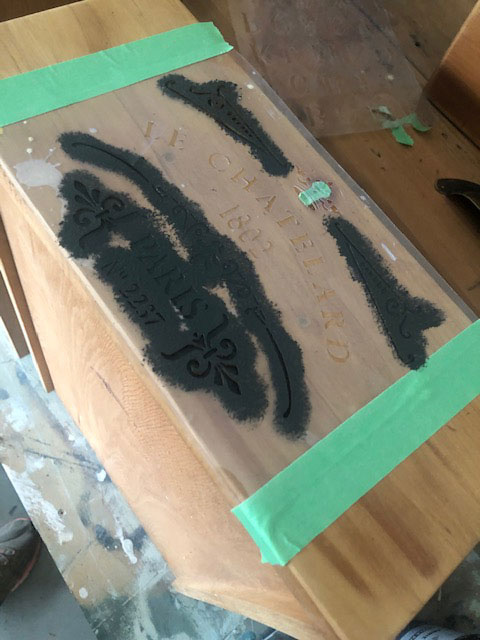
Applying the stencil
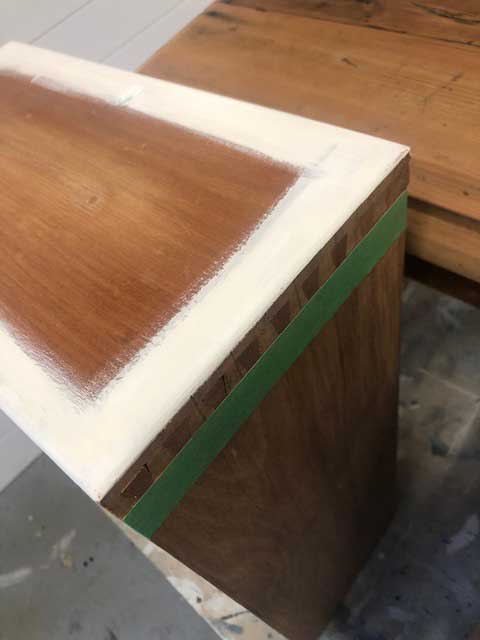
8. Mask with painter’s tape under the desk top to prevent the paint getting on the underside of the top. Paint the desk in Annie Sloan ‘Original’. Don’t forget to turn it over and paint underneath too. I used two coats. Lightly distress the edges and feet (concentrate on the edges to bring out the lines and detail and imagine where the legs might get knocked naturally). Sand very gently all over with a 300 grit sandpaper to get the paint silky smooth. Remove all dust and follow with a damp cloth to ensure the surfaces are clean.
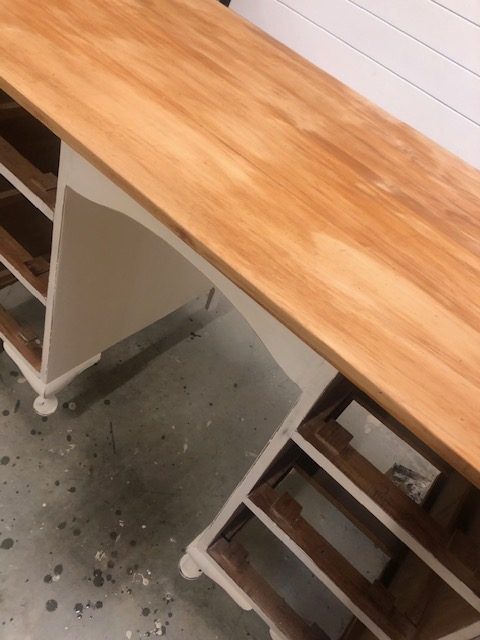
Painting, distress and clean the desk
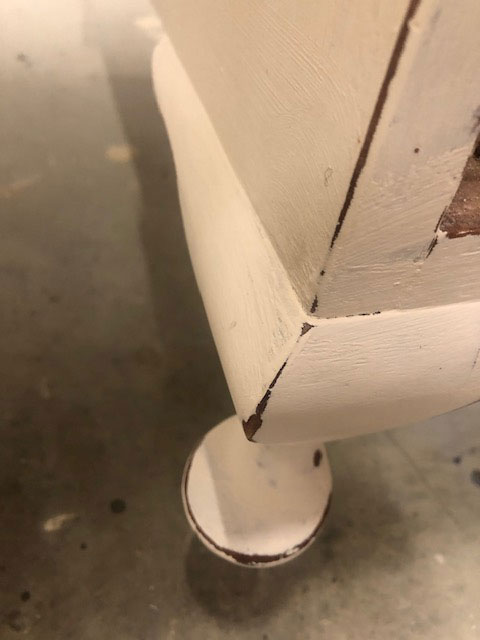
Distress the legs
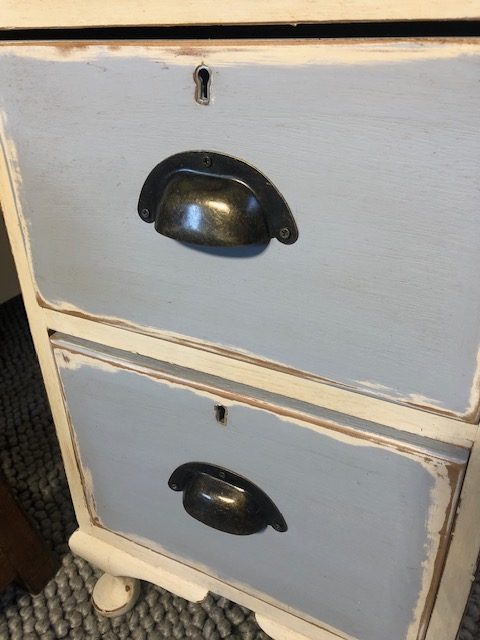
9. Tape the remaining four drawers so that you get a nice smooth line where the paint finishes. Paint the drawers with two coats of Annie Sloan ‘Louis Blue’.
Paint the drawers in ‘Louis Blue’
10. Lightly distress the edges, gently removing as much of the blue as you wish to reveal both wood and white paint underneath. Finish by lightly sanding the whole drawer with 240 grit fine sandpaper.
Sand and distress drawers
11. Wax the entire desk (except the plain wood surfaces) with Annie Sloan Clear Chalk Paint Wax using a wax brush. Leave for a few minutes then lightly buff off excess.
12. Follow with another very light coat of both clear and dark waxes (apply waxes sparingly for this step and work in areas). Immediately buff off any excess dark wax before it dries. Applying a light coat of clear wax will help with removing excess dark wax. It also works well to go one way and then the other with the dark wax (vertical, then horizontal, then vertical again) to prevent streaking. If you end up with streaks or too much dark wax in areas, you can apply clear wax over the top and remove this.
13. Buff lightly all over.
14. Ensure wood surfaces are clean and apply beeswax to all non-painted parts (drawers and top).
15. Fix new handles and reassemble desk. I also had to apply candle wax inside the old drawer runners as the drawers were quite difficult to open and close.


Speak Your Mind